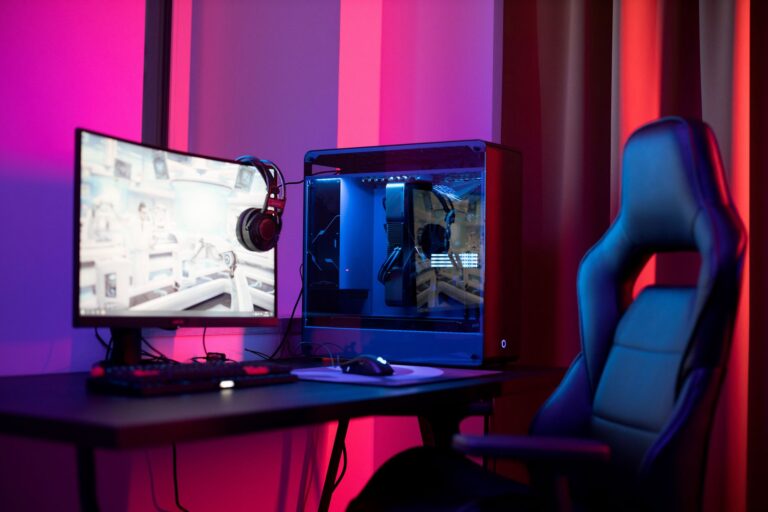
For small streamers in Regina and anywhere else, audio quality determines whether viewers stay or leave within the first thirty seconds. Sinfull Studios has worked across film, video production, and streaming setups long enough to know that a viewer will tolerate a grainy 720p picture far longer than they will tolerate crackling, echo-soaked, or clipping audio. Your mic and your gain staging are not accessories — they are the product.
Why does bad audio kill a stream faster than bad video?
Vision is patient. Hearing is not. When video compression artifacts show up, the brain fills in the gaps and moves on. When audio clips, hisses, echoes, or cuts out, the brain locks onto the problem and cannot ignore it. Streaming platforms like Twitch and YouTube have conditioned audiences to expect compressed video — it is baked into the codec. There is no equivalent tolerance for bad audio. The viewer hits leave before they even process why, and they rarely come back.
USB mic or XLR mic — which one should you start with?
A USB mic is the right call for most people starting out. Plug it in, set your input in OBS or Streamlabs, done. Options like the Audio-Technica AT2020USB+, the Blue Yeti (used carefully — more on that below), or the Rode NT-USB Mini are all solid entry points under $200 CAD. XLR mics require an audio interface, which adds cost and a learning curve, but they give you more control over gain, better headroom, and the ability to upgrade the mic independently of the interface later. If you are treating this as a serious long-term setup, budget for XLR from the start. If you are testing the waters, USB is fine.
What is gain staging and why does it matter for streamers?
Gain staging is setting your signal levels correctly at every step in the chain: at the mic itself (or interface), inside your software, and in your stream encoder. The goal is to keep your voice hitting around -12 dBFS to -6 dBFS on the meter — loud enough to be clear, quiet enough that peaks do not clip into distortion. Clipping is the harsh crackling you hear when someone’s voice spikes past 0 dBFS. It cannot be fixed in post. Set your hardware gain first so the signal is clean before it ever reaches OBS, then use the software gain only to fine-tune. Most beginners do the opposite and crank software gain on a weak signal, which amplifies noise along with voice.
How do you reduce background noise without your voice sounding robotic?
The three tools most streamers use are a noise gate, noise suppression, and a high-pass filter (EQ). Use them in this order: high-pass filter first to cut rumble and low-end room noise below 80-100 Hz, then noise suppression (the ReaPlugs or NVIDIA RTX Voice plugins work well) to handle mid-level background hiss, then a noise gate to silence the mic completely when you are not speaking. The common mistake is over-tuning the gate so it cuts in during sentences or chops the start of words. Set the gate threshold just below your room noise floor, not halfway up your speaking level. The goal is that the mic sounds natural when you are talking and simply goes quiet when you are not — not that it sounds processed.
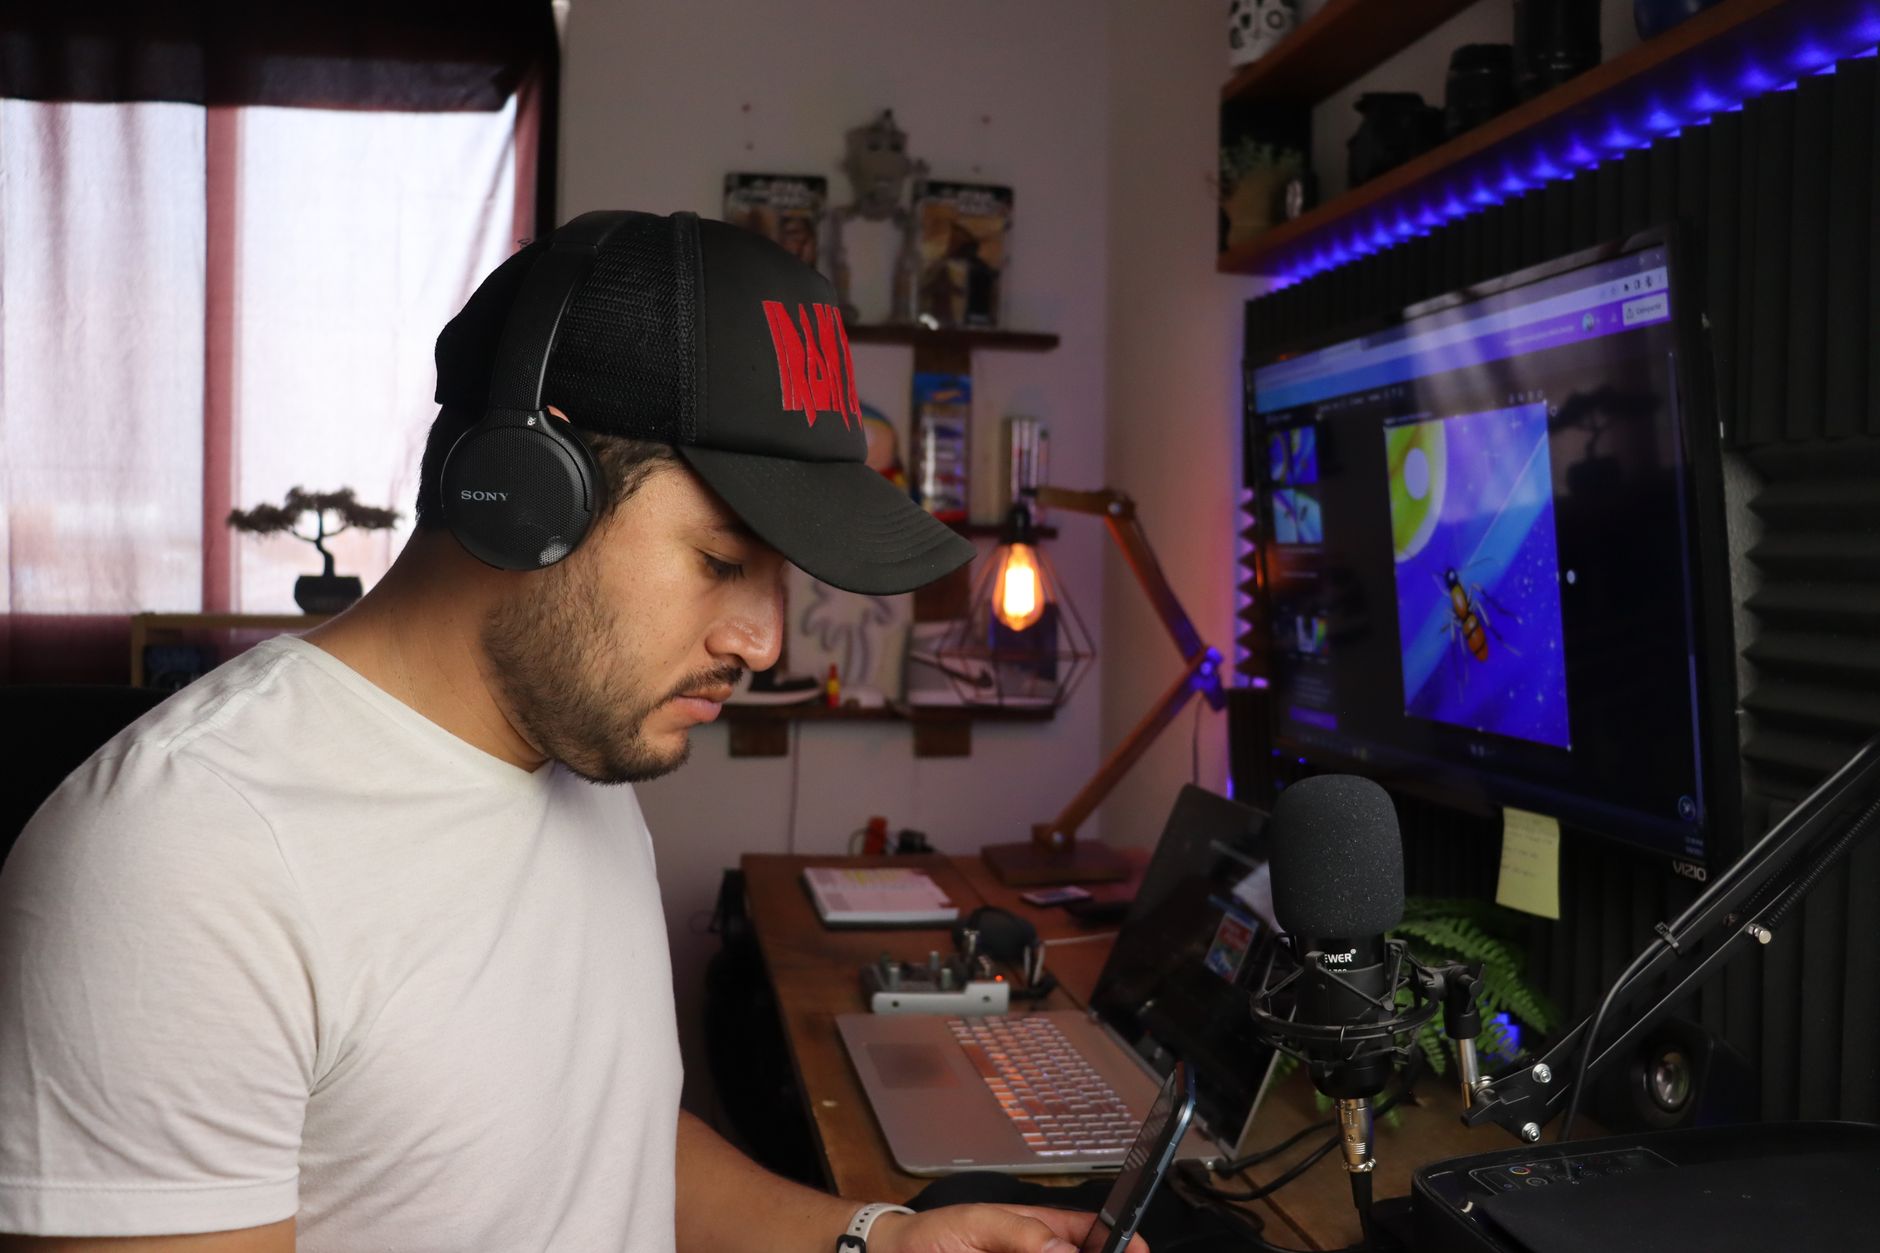
Where should you place your mic for the best results?
Cardioid condenser mics — which covers most USB mics — pick up best from the front and reject sound from the rear. The mic should be 6-10 inches from your mouth, slightly off-axis (angled rather than pointed straight at your lips) to reduce plosives — those hard P and B sounds that pop. Use a pop filter if you can. Do not mount it on a cheap desktop stand that lets it pick up every keyboard hit and desk vibration. A boom arm costs $30-50 and keeps the mic stable and correctly positioned whether you are sitting forward or leaning back. In Saskatchewan, most home setups also deal with HVAC noise from forced-air heating — positioning the mic away from vents and using a noise gate handles most of that.
Should you monitor your own audio while streaming?
Yes, and most streamers skip this step entirely. Listening to your own mic output through headphones in real time — called direct monitoring on an interface, or enabled through your software — lets you catch problems before your audience does. You will immediately hear if your gain is too hot, if there is a hum in the signal, or if a chair squeak is coming through. Set the monitor mix so the mic audio is blended with your game audio at a comfortable level. If you only have a USB mic without direct monitoring, run a quick test recording in Audacity or OBS before going live and play it back on headphones.
What are the most common audio mistakes streamers make?
- Setting input gain in OBS without first checking hardware gain — the noise floor is already baked in by then
- Using a large-diaphragm condenser mic (like the Blue Yeti) in a live room with bare walls, which causes a hollow, roomy echo
- Running audio effects in the wrong order — suppression before the high-pass filter adds artifacts
- Ignoring the difference between streaming bitrate and audio bitrate — use 160 kbps AAC minimum for acceptable voice quality
- Placing the mic on the desk beside the keyboard instead of on a boom arm
- Not testing the audio chain end-to-end before the first live session
What is a realistic affordable setup for a Regina streamer starting out?
A realistic starting budget that covers audio well: $150-200 CAD for a USB condenser mic (AT2020USB+ or Rode NT-USB Mini), $35-50 for a boom arm, $15-25 for a pop filter, and $0 for the ReaPlugs VST pack or NVIDIA RTX Voice if you have an RTX card — both are free. That is under $275 total and it will produce cleaner audio than ninety percent of what you hear on mid-tier Twitch channels. If you later want to go XLR, a Focusrite Scarlett Solo interface runs around $130 CAD and opens up a much wider range of microphones. Sinfull Studios handles full production-grade audio setups for commercial work, but for streaming, starting lean and learning the chain properly is the right approach.
Explore Gaming and Streaming at SinfullSlinn at Sinfull Studios for more.
Related reading from Sinfull Studios
- Getting Started With Project Zomboid Build 42: What’s New and How Not to Die
- Minecraft Survival Base Design: Building for Efficiency, Not Just Looks
- Elden Ring in 2025: Is It Worth Starting If You Bounced Off It Before
- Gaming and Streaming in Regina
Based in Regina, Saskatchewan. Explore Gaming and Streaming or request a quote from Sinfull Studios.
Frequently Asked Questions
Why does audio quality matter more than video quality for streamers?
Viewers will tolerate compressed or low-resolution video for extended periods, but bad audio — clipping, echo, hiss, or dropout — causes immediate viewer drop-off because the brain cannot tune out audio problems the way it can ignore video artifacts. For streamers on platforms like Twitch and YouTube, poor audio is consistently cited as the top reason viewers leave a stream within the first minute.
What is a good affordable streaming microphone setup for someone in Regina, Saskatchewan?
A solid entry-level streaming audio setup in Regina runs under $275 CAD: a USB condenser mic like the Audio-Technica AT2020USB+ or Rode NT-USB Mini ($150-200), a boom arm ($35-50), and a pop filter ($15-25). Free noise suppression plugins like ReaPlugs VST or NVIDIA RTX Voice handle background noise from HVAC systems common in Saskatchewan homes. Sinfull Studios recommends learning the gain staging basics before upgrading to XLR.
What is gain staging and how do you set it correctly for streaming?
Gain staging means setting audio signal levels correctly at every point in the chain — at the microphone or interface, inside streaming software like OBS, and at the encoder. For streaming, voice should peak around -12 dBFS to -6 dBFS. Set hardware gain first so the signal is clean before it reaches OBS, then use software gain only for minor adjustments. Cranking software gain on a weak signal amplifies noise alongside the voice, which is the most common beginner mistake.